Einleitung
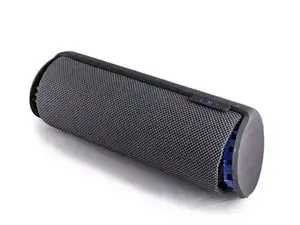
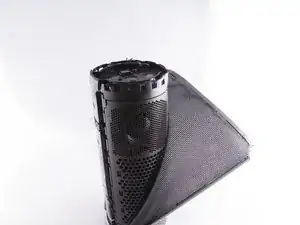
Diese Anleitung zeigt, wie du beide Lautsprecher deiner Logitech UE Megaboom ausbauen und tauschen kannst. .
Werkzeuge
-
-
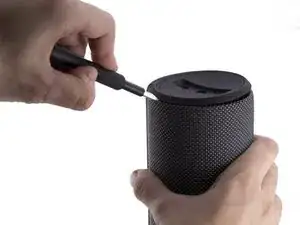
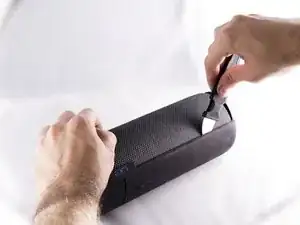
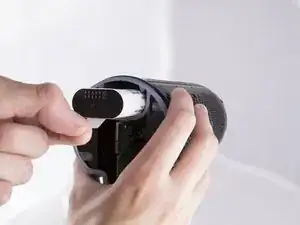
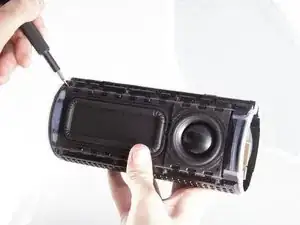
Fange an einem Ende des Lautsprechers an.
-
Führe ein Kunststoff-Öffnungswerkzeug in den Spalt zwischen dem Gummideckel und der Gewebe ein.
-
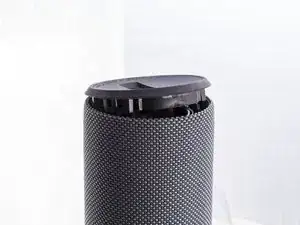
Hebele den Gummideckel mit einer Aufwärtsbewegung heraus.
-
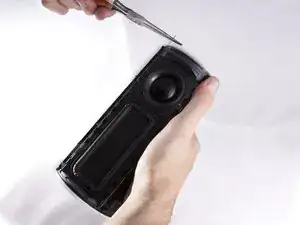
Mache dasselbe auf der anderen Seite.
-
-
-
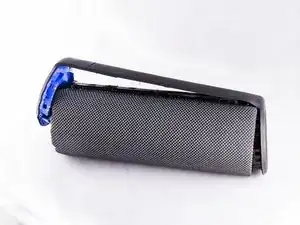
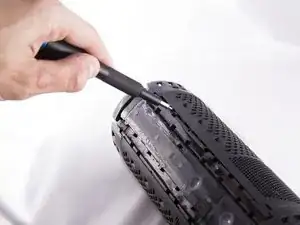
Benutze den Jimmy und hebele den Gummistreifen heraus auf dem sich die Lautstärke-Tasten befinden.
-
Entferne den ganzen Gummistreifen nach dem Heraushebeln.
-
-
-
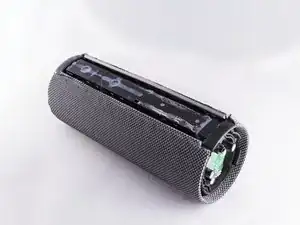
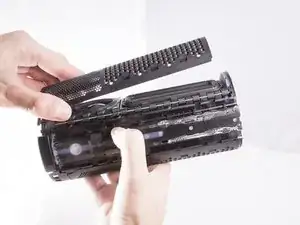
Benutze eine Pinzette um die Kunststoffklemme anzuheben, die das Gewebe in der Röhre fixiert.
-
Hebe die Klemme rund um den Lautsprecher herum heraus.
-
Mache dasselbe auf der anderen Seite.
-
-
-
Entferne die innenliegende Kunststoff-Dichtung auf der Platine.
-
Entferne die zweite Kunststoff-Dichtung am äußeren Rand der Platine unter der Gummidichtung.
-
-
-
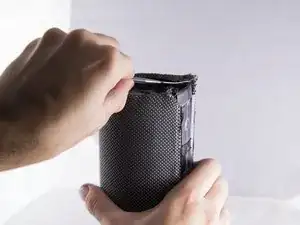
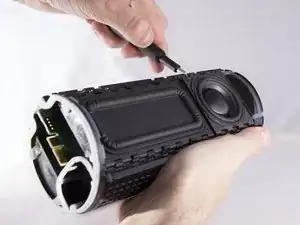
Setze ein Öffnungswerkzeug zwischen Grill und Gehäuse ein.
-
Heble nach oben, damit sich die Rasten lösen.
-
Wiederhole für den Grill über dem zweiten Lautsprecher.
-
-
-
Drücke den dünnen Metallstab an der Seite des Lautsprechers mit einem Öffnungswerkzeug heraus.
-
Fasse den Metallstab mit einer Spitzzange und ziehe ihn ganz aus dem Gerät heraus.
-
Entferne die anderen drei Metallstäbe.
-
-
-
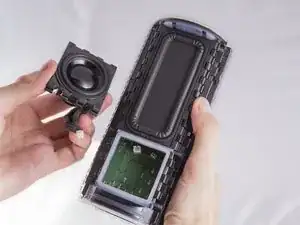
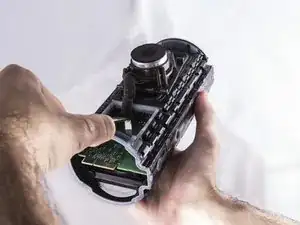
Setze ein Öffnungswerkzeug zwischen Lautsprecher und Gehäuse ein.
-
Heble damit, bis sich die Laschen am Lautsprecher lösen.
-
Finde den Kabelanschluss des Lautsprechers auf der Platine und trenne ihn ab.
-
Wiederhole das Ganze für den anderen Lautsprecher.
-

Um dein Gerät wieder zusammenzubauen, folge den Schritten in umgekehrter Reihenfolge.
7 Kommentare
Thank you! I was able to glue one of the passive radiators back in place.
Where can I find a speaker replacement? Thanks for your time
I’ve got the same issue. Where can i find the speaker replacement?
Pry all the way around with the tool as there are “clips” that hold the cap in place all around beneath the cap. Avoid trying to “pull the lid open” from the opening of a half opened lid.
Jamin Hu -
Stop! Before you proceed, notice the comments at the end of the guide. You don't have to take apart both sides or remove the mesh fabric. Remove just the bottom cap (with the aux/charge plug).
Then carefully remove the glue securing the circuit board on the sides and gently pull the board out to reveal the battery under it.
Caleb Kelsay -
FWIW I had no luck opening these caps with the tools I bought on iFixit (plastic pry bar, metal Jimmy). I had a lot more luck using the flat edge of a butter knife! (it still took lots of work on my UE Megaboom 3)
Travis Taylor -
My megaboom berttrey doesn't charge it becomes like power defending
Lawrence Memsong -